How to Upgrade Tools in Stardew Valley?

You May Be Interested In:
As a seasoned Stardew Valley player, I know firsthand the importance of upgrading your tools to enhance your farming efficiency and unlock new capabilities. Upgrading tools is a crucial aspect of progression in the game, as it streamlines your daily activities and allows you to tackle more challenging tasks. In this comprehensive guide, I’ll walk you through the step-by-step process of upgrading your tools, share my personal experiences, and provide valuable tips to help you make the most of your tool upgrades.
Understanding the Importance of Tool Upgrades
Before diving into the specifics of how to upgrade your tools, let’s discuss why tool upgrades are essential in Stardew Valley.
Increased Efficiency
One of the primary benefits of upgrading your tools is the significant boost in efficiency. As you progress through the upgrade tiers, your tools will consume less energy, cover a larger area, or perform their tasks more quickly. For example, an upgraded watering can will water more tiles at once, saving you time and energy in your daily farming routine.
Unlocking New Capabilities
Certain tool upgrades unlock new capabilities that are essential for accessing advanced areas or performing specific tasks. For instance, upgrading your pickaxe to the gold or iridium level is necessary to break certain types of rocks and access deeper levels of the mines. Similarly, upgrading your axe allows you to chop hardwood stumps, which are required for various crafting recipes and farm buildings.
Steps to Upgrade Your Tools
Now that we’ve established the importance of tool upgrades, let’s walk through the process of upgrading your tools step by step.
Step 1: Visit the Blacksmith

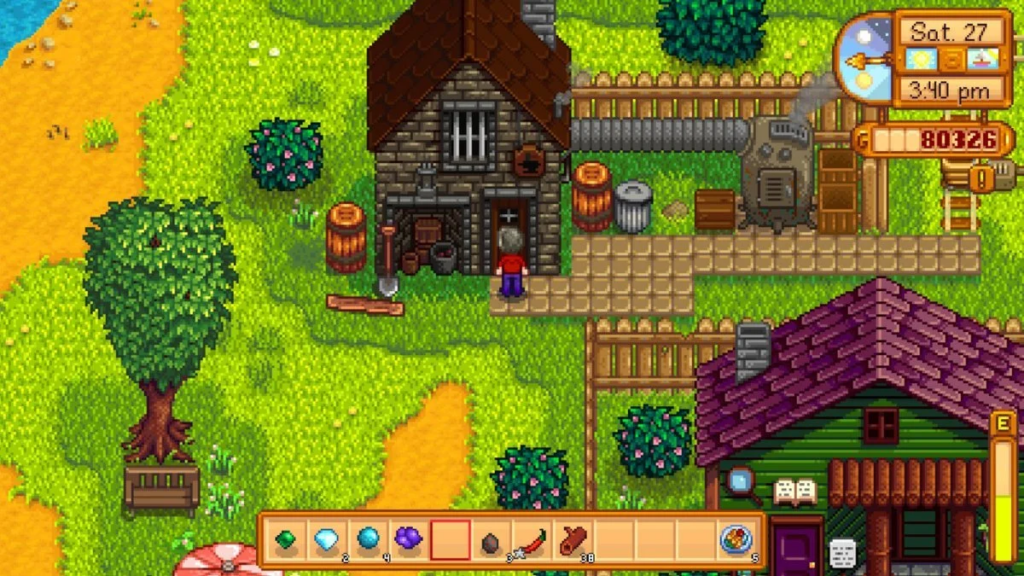
The first step in upgrading your tools is to visit Clint’s Blacksmith Shop, located in the southeast corner of Pelican Town. The shop is open from 9:00 AM to 4:00 PM every day, except on Fridays when it closes at 10:30 AM.
Step 2: Gather Required Materials and Funds

Before initiating an upgrade, ensure you have the necessary materials and funds. Each tool upgrade requires a specific number of metal bars and a monetary fee. Here’s a breakdown of the requirements for each upgrade level:
- Copper Upgrade:
- Materials: 5 Copper Bars
- Cost: 2,000g
- Steel Upgrade:
- Materials: 5 Iron Bars
- Cost: 5,000g
- Gold Upgrade:
- Materials: 5 Gold Bars
- Cost: 10,000g
- Iridium Upgrade:
- Materials: 5 Iridium Bars
- Cost: 25,000g
To obtain the required metal bars, you’ll need to smelt the corresponding ores using a furnace. You can craft a furnace after reaching Mining Level 1, which requires 20 Copper Ore and 25 Stone. Place the furnace on your farm, add the desired ore and a piece of coal, and wait for the bar to smelt.
Step 3: Select the Tool to Upgrade

Once you have the necessary materials and funds, speak to Clint and select the “Upgrade Tools” option from the dialogue menu. Choose the tool you wish to upgrade and confirm your selection.
Step 4: Wait for Completion

After initiating the upgrade, you’ll need to wait for two in-game days for Clint to complete the process. During this time, the tool being upgraded will be unavailable for use, so plan your activities accordingly.
Step 5: Collect Your Upgraded Tool

After the two-day waiting period, return to Clint’s Blacksmith Shop to collect your newly upgraded tool. Your tool will now have enhanced capabilities, such as increased area of effect, reduced energy consumption, or the ability to break previously inaccessible objects.
Tips for Efficient Tool Upgrading
To make the most of your tool upgrades, consider the following tips:
- Plan Ahead: Since the tool being upgraded will be unavailable for two days, choose a time when you can manage without it. For example, upgrading your watering can before a rainy day or at the end of a season can minimize disruption to your farming routine.
- Prioritize Essential Tools: Focus on upgrading tools that have the most significant impact on your daily activities. The pickaxe and axe are often prioritized due to their importance in mining and wood gathering, while the watering can is crucial for efficient crop management.
- Manage Your Resources: Keep track of your metal bars and ores, and plan your smelting accordingly. Ensure you have enough coal to smelt the required bars for your desired upgrades.
- Consider the Cost: Tool upgrades can be expensive, especially at higher tiers. Make sure you have sufficient funds before initiating an upgrade, and consider selling excess crops or items to raise the necessary capital.
Frequently Asked Questions (FAQs)
Can I upgrade my tools multiple times?
Yes, each tool can be upgraded a total of four times, progressing from the basic level to copper, steel, gold, and finally, iridium.
Do I need to upgrade my tools in a specific order?
No, there is no required order for upgrading your tools. However, it’s generally recommended to prioritize the tools that have the most significant impact on your gameplay, such as the pickaxe, axe, and watering can.
Can I upgrade my fishing rod at the Blacksmith?
No, the fishing rod is upgraded differently. Instead of visiting the Blacksmith, you’ll need to purchase new fishing rods from Willy’s Fish Shop. Some fishing rods have specific skill level requirements.
What happens if I lose my tool during the upgrade process?
Don’t worry! Your tool is safe with Clint during the upgrade process. Even if you misplace your tool, you can still retrieve the upgraded version from the Blacksmith after the two-day waiting period.
Can I upgrade multiple tools simultaneously?
Yes, you can upgrade multiple tools at the same time. However, keep in mind that each upgrade will take two days, and you won’t have access to the tools being upgraded during that period.
Conclusion
Upgrading your tools in Stardew Valley is a vital part of your progression and success in the game. By enhancing your tools’ capabilities, you can streamline your daily activities, access new areas, and tackle more challenging tasks with ease. Remember to gather the necessary materials and funds, plan your upgrades strategically, and prioritize the tools that have the most significant impact on your gameplay.
As you continue to upgrade your tools and advance through the game, you’ll find that your farming experience becomes more efficient and enjoyable. Don’t hesitate to experiment with different upgrade paths and find the strategy that works best for your playstyle.
By following this comprehensive guide and leveraging the tips and insights provided, you’ll be well-equipped to make the most of your tool upgrades in Stardew Valley. Happy farming, and may your tools always serve you well!


